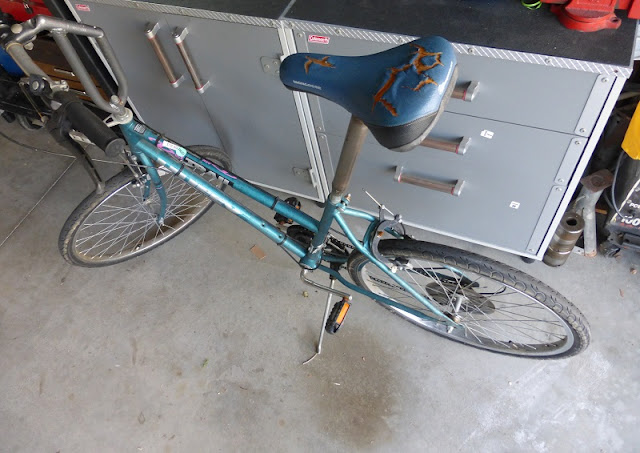
As a continuation of the "Bicycle Upgrayedd 2" project, I wanted to build a better rack for this thing since the previous one was flimsy and had a poor mounting mechanism.
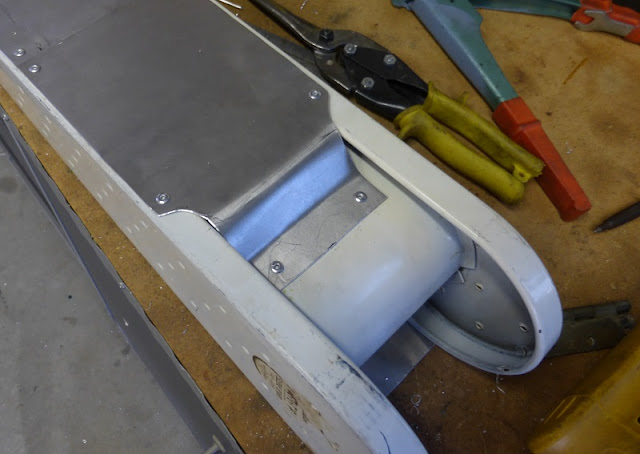
The basis of this new rack was a sleeve ironing board I got for free at a garage sale. I will admit, I had no idea that's what it was, but it definitely looked like the perfect shape to be made into a bike rack! The design allowed me to add an interior compartment into it. Here I am riveting some sheet aluminum to create the bottom.
I did some fancy sheet metal work to accommodate the existing geometry here.
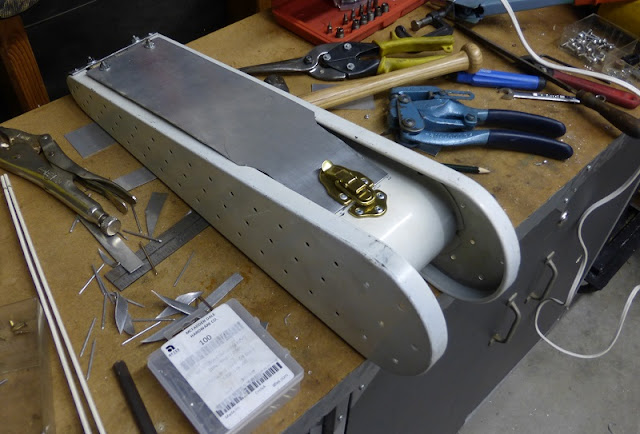
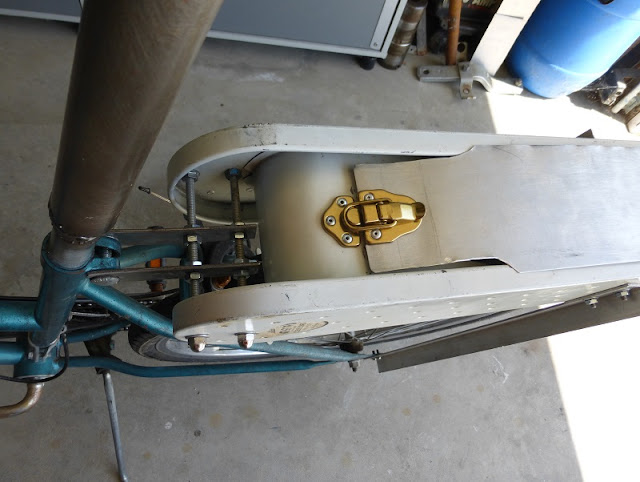
Then for the lid I used a piece of sheet metal with a hinge and a brass (plated) latch I had lying around.
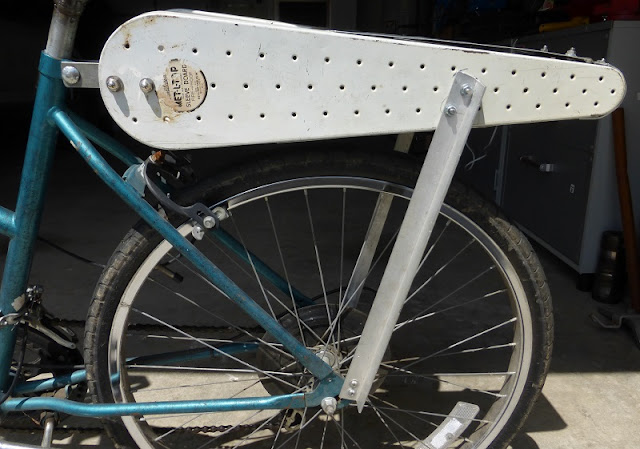
To attach to the bike, I used some aluminum angle pieces I had. Since there are 2 mounting holes on the rear dropouts, I decided to use them both for extra rigidity. I took advantage of the fact that the ironing board already had holes in it too, so I drilled them out to fit the #10-32 screws.
One of the pieces had some plaster or something caked on it, so I used a lava rock to scrape most of it off.
Here is a view from the other side. What complicated this matter was that the two aluminum pieces were different widths and lengths, so they wouldn't attach at the same angle. The downside was just having to drill an extra hole in the ironing board, but the resulting linkage ended up being accidentally more rigid. (rigidity is good!)
Now for the brackets to attach to the seat tube. I used some 1" galvanized steel strip about 1/8th inch thick. Here I am cutting them with a hacksaw while the strip is clamped to the table.
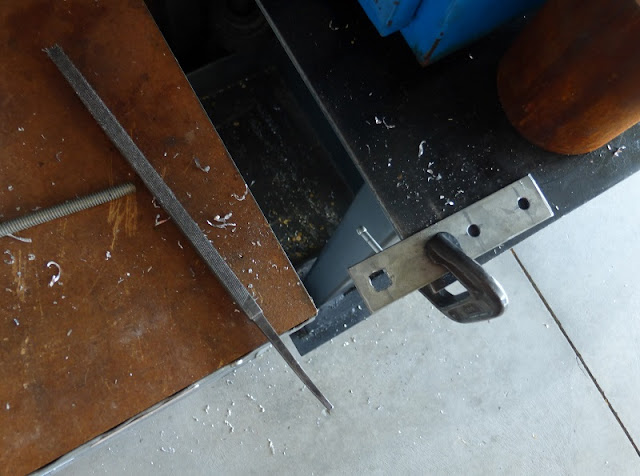
Then drilling the mounting holes. One of the holes had to accommodate the seat tube carriage bolt, so I filed it square.
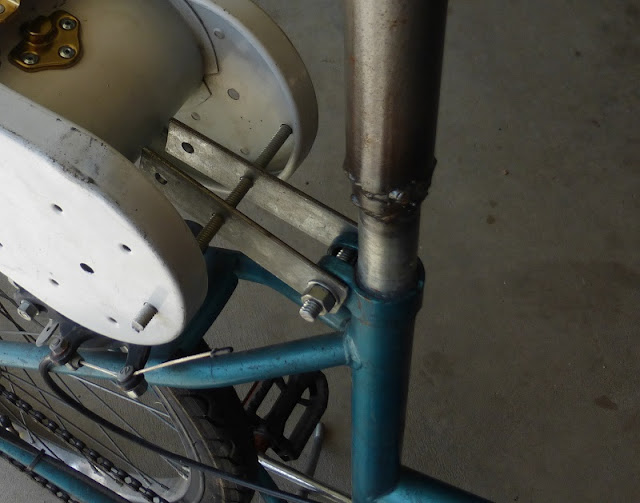
This attaching mechanism involved a couple pieces of 1/4"-20 threaded rod and several nuts.
It was a bit tricky since I had to thread the nuts on in the correct order, otherwise start over. I used acorn nuts for the outside to avoid exposing sharp threads.
Totally connected.
A look at the mounting mechanism all tightened. This thing is solid!
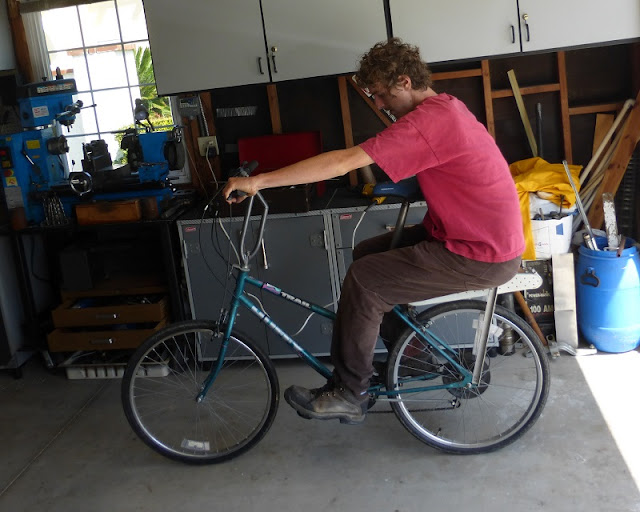
To test the rack's stability, I tried riding around whilst sitting on it. It occurred to me that this could actually be a lowrider bike if I just removed the seatpost (and made a more comfortable sitting surface!)
I really like how this rack turned out, the appearance kinda looks like some WWII motorcycle tank or battleship or something.
For all your grapefruit smuggling needs, Scrap Attack! has answers!







No comments:
Post a Comment
Hi folks, please only leave comments relative to the blog post. All spam will be removed and spammers will be blocked.
Note: Only a member of this blog may post a comment.