Thursday, May 30, 2013
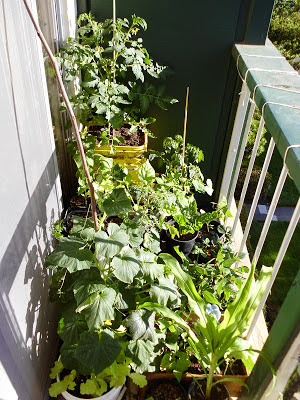
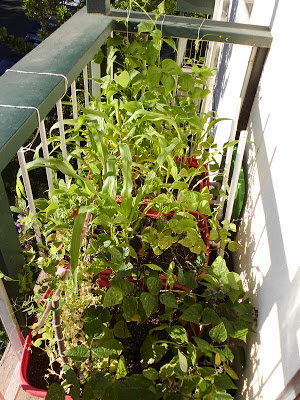
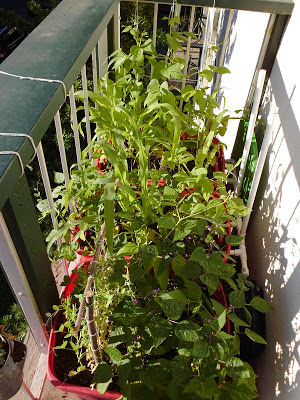
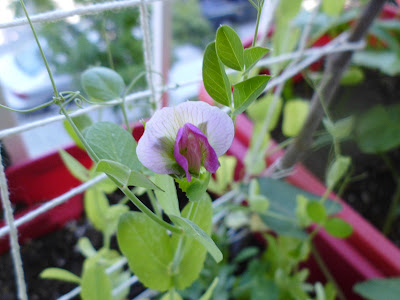
Purple Beans and Corn Tassels -- Spring Garden Weekly Update 8
Posted by
Vinny

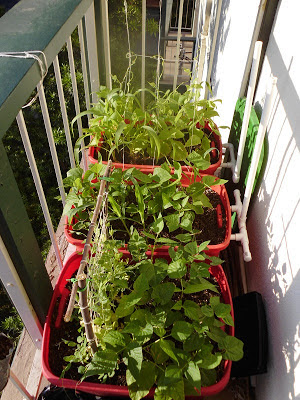
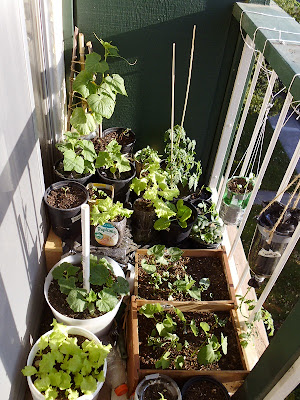
Here we go again. It turns out that it is easy to overlook how some plants are doing, especially in such tight spaces.
Red Cherry Tomato (Large Fruit)
Posted by
Vinny

A very easy tomato plant to grow, and an easy one to clone too. It can be grown in containers as small as 1 gallon, but a larger container is better. Plants will grow larger in bigger containers. The Kratky method and other hydroponic techniques can be used for this plant. Produces lots of cherry tomatoes throughout the season. Not as sweet as other varieties, but that's because the fruit is larger.
Sunday, May 26, 2013
DIY Hashbrowns
Posted by
Vinny

 |
| Why can't I hold all these potatoes? |
Saturday, May 25, 2013
Tomato Cloning Experiment
Posted by
Vinny

When you buy a tomato plant at a store, the chances are the plant wasn't started from seed. It was likely grown from the cutting of another plant. There are many plants that can be cloned in this fashion, but tomatoes are arguably the easiest plant to clone.
The experiment was simple and easy to do. All that is required is a branch from the mother plant. Take that cutting, snip off all of the lower leaves and branches, and stick it in wet soil or a hydroponic grow medium. I chose the soil path since I do not have any space for more hydro experiments. Some recommend using root growth hormone to help the cutting establish itself, but I don't have that on me.
 |
| Day 1 Mother Plant |
Friday, May 24, 2013
Thursday, May 23, 2013
Beans and massive Hydroponic Growth -- Spring Garden Weekly Update 7
Posted by
Vinny

It's that time of the week again. On Tuesday I harvested my first beans. I still have yet to see green beans at the farmers market, so I beat them to the punch. Over the weekend, I was able to get a bunch of free seed packets from a campus event. I haven't planted any yet, but I will be using some in winter. Let's take a look at everything.
UPSTAIRS
Friday, May 17, 2013
Cloudy Day with Verdant Fury -- Spring Garden Weekly Update 6
Posted by
Vinny

It was a difficult decision, but I had to destroy the cucumber plant that is featured in the banner of this website due to disease drowning it. One of my hanging planters with a corn plant fell off my balcony a few nights ago, prompting me to go rescue it. I am not sure if it will recover yet. Regardless, the past week of slightly warmer temperatures, followed by a nice cloudy day today led to some impressive overall growth.
Thursday, May 16, 2013
Building a Die Casting Mold (Soap Dish Mold Part 1)
Posted by
Diecaster D.

This is my granddaddy project, the whole reason I chose to go to school for tooling was to be able to make permanent casting molds for my foundry. Unfortunately, the information I learned from the tooling class helped little with the mold making process. Even the internet has low to no information on mold making, well at least not in English, so I had to learn from word of mouth.... It isn't that complicated actually. The only difference between this and a sand mold is instead of sand it will be made of steel. How hard can it be?
As mentioned in my evil plan, the mold is for a soap dish. I started by taking the dimensions of the soap dish and finding a piece of steel that will give me adequate room to make the cavity. The problem is, the only thing I could find was a round piece 6" in diameter 8" long. This meant I would have to machine it square-like and cut it in half for the 2 halves of the mold.
The first step was to put it in the lathe and face the ends clean so it would fit in the mill vise correctly. I had to use the biggest lathe in the shop to fit this monstrosity.
Building a tray
Posted by
Diecaster D.

I got tired of carrying stuff from the kitchen like this, so I built a tray from scrap aluminum and wood.
Aluminum angle pieces courtesy of the scrap bin at school:
Thin wood piece from shelf drawer, I cut it with aviation snips to this size. There is absolutely nothing wrong with cutting wood with aviation snips.... well until it cracks.
Aluminum angle pieces courtesy of the scrap bin at school:
 |
| Is it still called angle iron if it is made of aluminum? |
Saturday, May 11, 2013
Dial Indicator/ Camera Stand
Posted by
Diecaster D.

All the other machinists at work have their own dial test indicators & bases like the one pictured above and whenever I have to do a setup, I always have to borrow one. It was implied I should get one too, but my distaste in expensive delicate things that need to be taken care of led me to make a stand for my $15 Harbor Freight indicator.
Friday, May 10, 2013
Dwarf Grey Sugar Peas
Posted by
Vinny

For the time period I grew this plant during, it survived the heat well. The heat burned away some of the bottom leaves, turning them brownish yellow. I didn't get a great harvest though. This variety is tasty and is worth growing when your area does not get freakish heat waves in the middle of March. The edible pods are very sweet. I would recommend growing this variety to shelling peas.
Thursday, May 9, 2013
I accidentally killed my cucumber plant -- Spring Garden Weekly Update 5
Posted by
Vinny

Another week has passed, the last week being significantly cooler than the previous week. We got a little rain too. Production has picked up in the garden. Several more female cucumber flowers have emerged and a few have been pollinated. Additionally, pea and bean flowers have emerged and a few pods have begun to form.
UPSTAIRS

UPSTAIRS

Tuesday, May 7, 2013
Hard Apple Cider Batch #2
Posted by
Vinny

Due to popular demand (and tastiness), I have decided to make another batch of hard apple cider. I'm using the same recipe as before, except this time I am using 4.5 gallons of juice instead of 4. This will lower the starting gravity slightly, but I doubt it will have too much impact on the flavor. The flavor of the other batch was extremely strong, so I'm not worried. I did have to find a new place to put my fermenter, as I don't think the table in my closet cannot support the weight of two filled buckets (about 80 lbs).
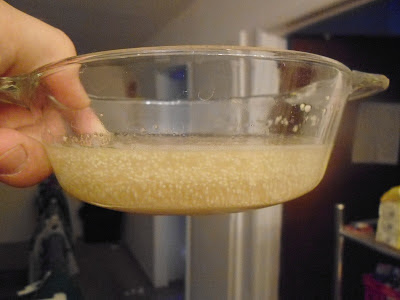 |
| Saccharmomyces cerevisiae. The yeast |
Sunday, May 5, 2013
Beer Batch 2: Red Rye IPA
Posted by
Vinny

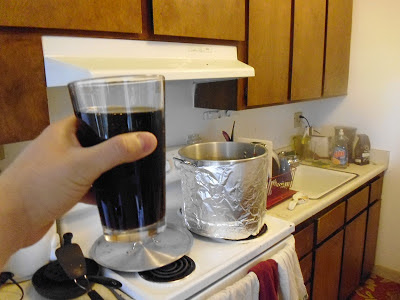 |
| Have a homebrew while you homebrew! |
Thursday, May 2, 2013
Chair Repair
Posted by
Diecaster D.

The chair I use finally broke due to a serious design flaw I saw coming from a mile away. As illustrated below, it has a geometry for weight distribution that puts all the stress on the weld joints on the front. This would only be a problem if the manufacturer used paper-thin tubing, and they did. Also, I had taken off the back of the chair and have been sitting on it backwards which may have added to the problem.
 |
| The breaking point |
I'm pretty sure it was designed this way on purpose per planned obsolescence, or to give it a nice "spring" effect, but I have a welder and can show them who's boss. If I had paid any money for this chair, I would want it back.
Wind and Cucumber Flowers -- Spring Garden Weekly Update 4
Posted by
Vinny

The weather has been hot and windy, but my plants are still doing fine. Let's see some photos.
UPSTAIRS
Spacemaster Cucumber
Posted by
Vinny

Fordhook Giant Swiss Chard
Posted by
Vinny

Swiss Chard is one of my favorite vegetables. It is a member of the beet family. These seeds readily germinate, but getting the plant to establish itself in warm months isn't easy. I would recommend keeping the plant inside while it is young. Once it gets going, keep it outside. The plant will keep producing leaves, so harvest the plant down to 5 leaves to ensure it can regrow its lost ones optimally.
Leaves can be eaten raw, steamed, boiled, sauteed, and possibly other ways. One of my favorite ways to eat chard is to chop up leaves and stems and throw them into a pan with olive oil and garlic. Another way you can prepare chard is to bake them into vegetable chips.

