My beverage supply was running low, so I decided it was time to try making beer with my new setup. As before with the
Pumpkin Cider, I wrote my recipe to make only 1 gallon worth of beer. For me to do 5 gallons worth of beer, I would have to do an extract brew. With my 12 qt kettle, I could fit my leftover bag inside the pot to use the brew in a bag method (BIAB) and go all grain.
 |
| Grains for great beer |
I chose to go with a brown ale because there are not a lot of different specialty grains needed to make it taste good. Also the majority of the flavor will come from the grains, not the hops, allowing me to save time there. (I really enjoy good brown ales, too)
1 Gallon Brown Ale (BIAB method)
2 lbs Two Row
0.25 lbs Brown Malt
0.1 oz Challenger (60 minutes)
 |
| Let's get started |
This recipe I concocted was designed to make a fast fermenting and delicious end product. I can probably bottle this after about 4 days of fermenting. Also since I am only doing 1 gallon, my grain costs are incredibly low. I can save some of the leftover hops and yeast to do more batches this way. I'm hoping I can make the final turnaround time from grain to glass less than 14 days (This is only because I must wait for the end product to bottle condition. If I had a keg, I'd be drinking it on the day it finishes fermentation).
 |
| Initial warm up and preparation |
I estimated I would need about 2 gallons of water total to get 1 gallon of beer out of this batch. (In hindsight, I was right). I had to be careful to ensure the bag would not touch the bottom of the kettle and burn/melt in the process. Luckily I had a lot of leeway due to the size of the bag. The 2.25 pounds of grain fit with no problem.
 |
| The start of the mash |
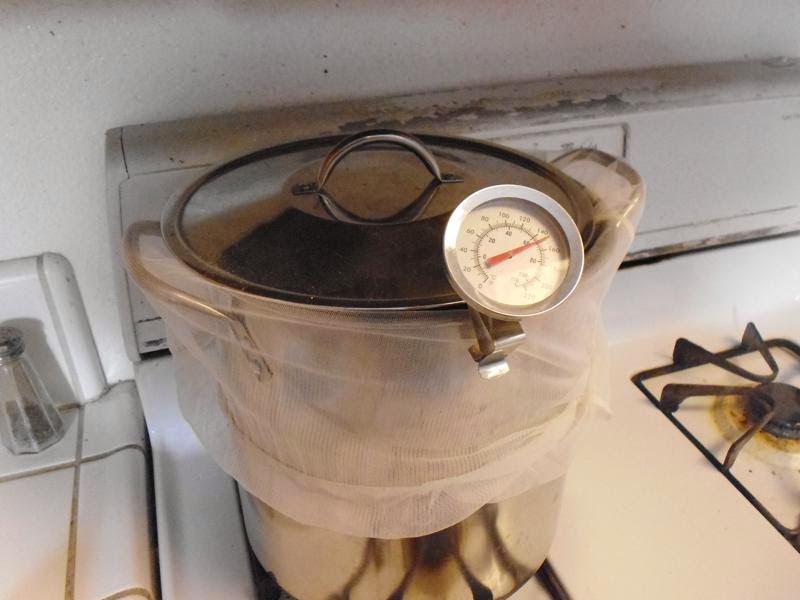
I heated the mash water to 65°C before adding the grain. The stainless steel kettle was able to keep the mash water near that temperature for the whole hour of mashing without requiring any additional heating.
 |
| Set it and forget it |
I only stirred the mash a few times in the hour long mash. That didn't seem to matter too much because I could smell how well the starch conversion was going. (I just hope no one in this house protests to the place smelling like a brewery).
 |
| Post mash wort |
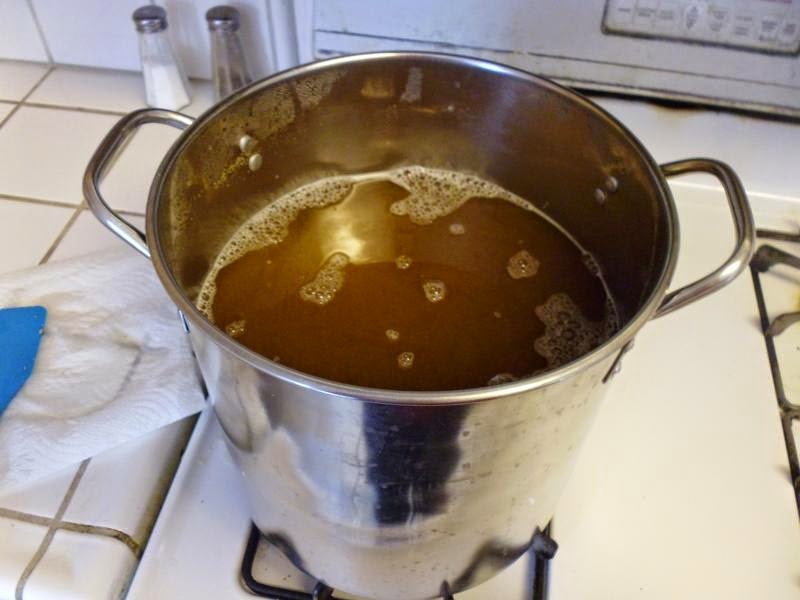
Heating the wort caused a lot of foam to come up and out, but luckily the kettle didn't boil over.
 |
| Creamy wort deliciousness |
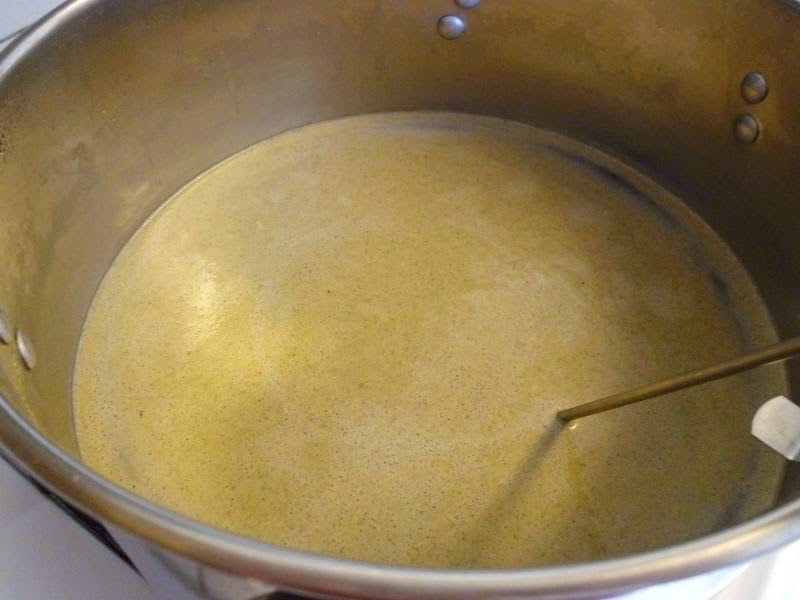
Here is a quick video of the beginning of the boil. A watched pot never boils, but a video taped one does. Always strive to have a boil as vigorous as this one.
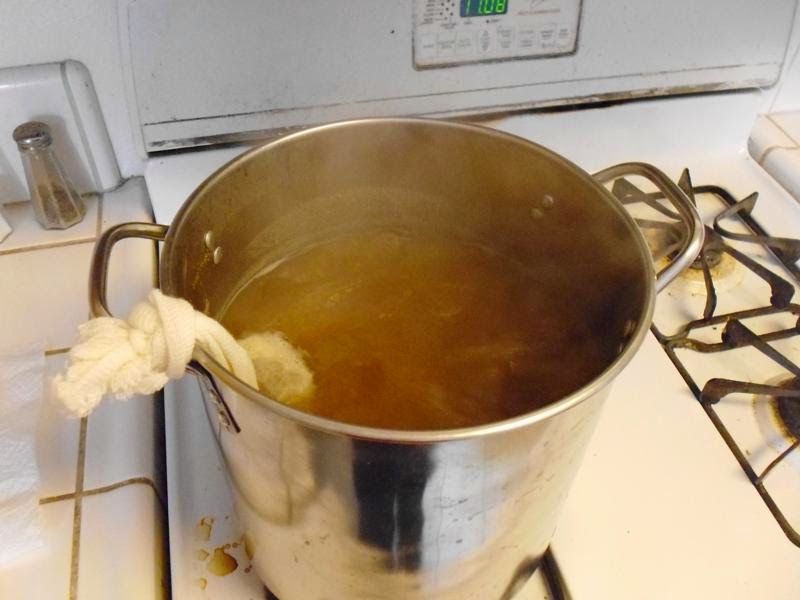
With the beginning of the boil came the time to add in the hops. Since I used such a small amount, this was the first time I was able to reuse a hop bag at the end of a brew day.
 |
| I still use pellets. |
 |
| The boil rages on |
After an hour of boiling, the kettle had lost enough water to be deemed worthy of being 1 gallon worth. I filled up a bucket with cold water outside and dunked the kettle into it until the temperature was no longer scalding.
 |
| Cooldown |
While this wort was cooling, I prepared the siphon and container where fermentation would take place. It took about half an hour to cool this wort down to an acceptable temperature.
 |
| What can brown do for you? |
The original gravity of this batch was
1.044. This should produce a nice beer with an ABV above 4%.
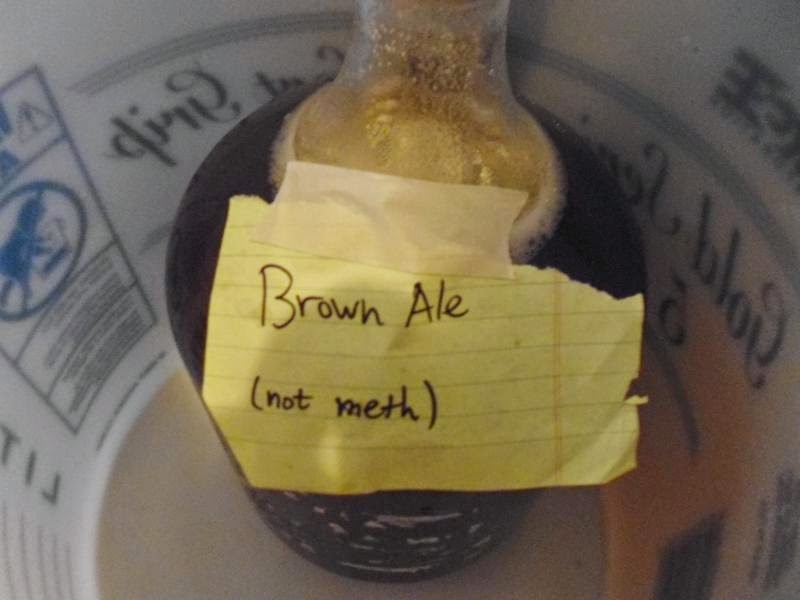 |
| Yeast pitched and ready for fermentation! |
If this is successful, I'll be able to do weekly batches, including during the week. Brew days for 1 gallon batches are at least 2 hours shorter than for 5 gallon batches. Although the yield is about 20% less with this method, it takes a lot less energy to do it this way. I could probably expand this to do 2 gallon batches without any extra effort. (I might have to incorporate some malt extract into those to prevent overfilling the kettle during the mash however).
Until this is done fermenting, Cheers!


Such an endeavor. Such dedication. Bravo
ReplyDelete